When it comes to optimizing our performance on the bike, especially if we are dedicated to cycling professionally, there are many aspects to consider. One of them is biomechanical adjustment. This will help us to improve our performance, but also to prevent possible injuries and pain after training. In this article we explain what a biomechanical bike fit consists of, how it can be done at home and some myths about it that you should know. Keep reading!
What is a biomechanical bicycle study?
A biomechanical study or test of the bicycle consists of an exhaustive analysis of the cyclist’s technique. Its purpose is to facilitate the adjustment of the bicycle’s measurements and its components to the characteristics and needs of each individual, and not the other way around. The biomechanical study of the bicycle is carried out taking into account the cyclist’s posture, mainly, and its purpose -as we mentioned in the introduction- is focused on improving performance, but also on avoiding possible discomfort or injuries that may be caused by it. These studies are carried out by cycling professionals and they take different measurements such as saddle height, setback, handlebar height and other values and then modify them.
How to perform a biomechanical bicycle adjustment at home
Performing a biomechanical study can be key if we are dedicated to professional cycling, however, there are some biomechanical adjustments for cycling that we can also perform on our own at home and that will be very useful to improve our performance and adopt an optimal posture with our indoor cycling bike. These are the most important ones:
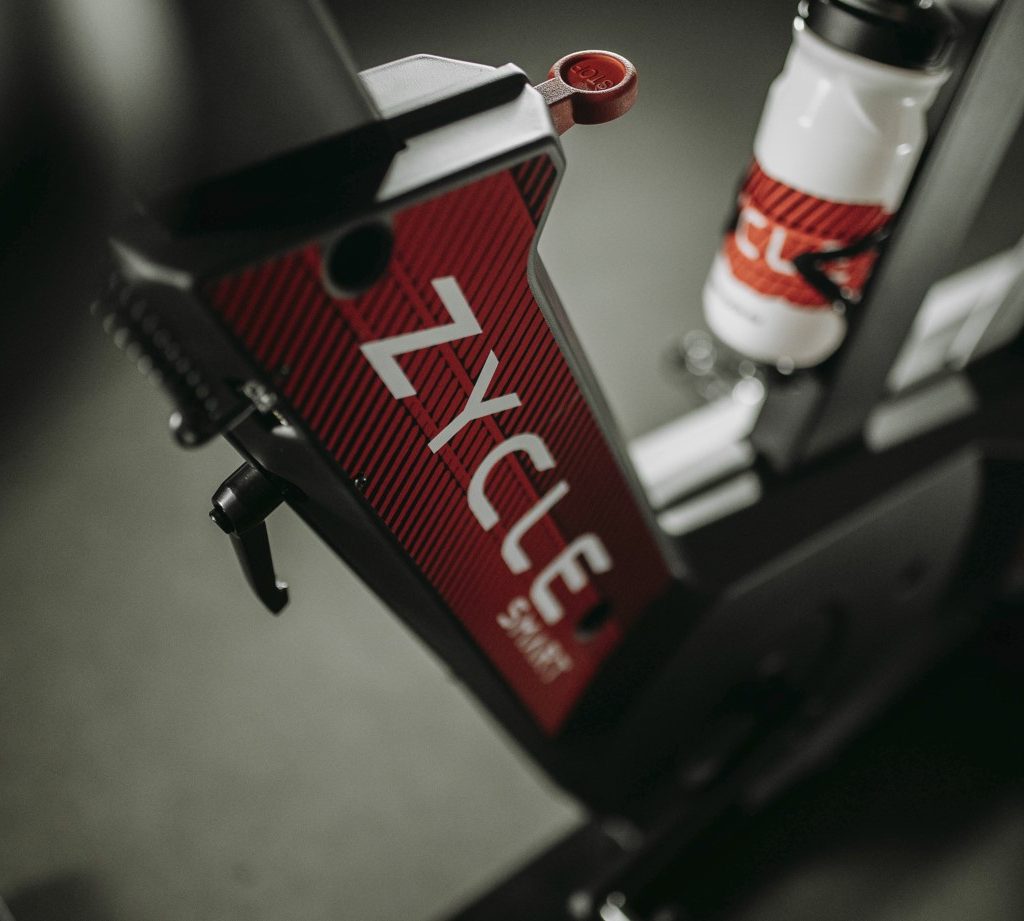
- Adjusting the saddle height: Keep in mind that if the saddle is too high, it will be more difficult to reach the pedals and this will cause instability in your hips; on the other hand, if it is too low, your knees may suffer. To find the correct adjustment, stand next to your Smart ZBike 2.0 and raise the saddle so that it is parallel to your hip bone. Then confirm your posture by placing the pedal in the 6 o’clock position. Your knee should be slightly bent.
- Handlebar distance: When talking about biomechanics, cycling and the ideal position the handlebars also play a very important role, as well as on performance. As a reference, the handlebar height should be the same as the saddle height, thus – in addition – strengthening the core and increasing overall training efficiency.
- Handlebar position: Some indoor cycling handlebars can be moved with respect to the distance from the saddle. In these cases it is common to find buttons or pins that unlock the handlebars to bring them towards or away from us. This will allow us to adopt a better position and curvature of our back and will facilitate a free and clear movement of our knees, avoiding discomfort and improving performance.
- Secure the contact points: Last but not least, it is essential that you secure all the contact points that you have modified to avoid altering the measurements with the efforts. In any case, you will have to check them periodically as they may give way over time.
Of course, using cycling equipment, as well as indoor cycling accessories, will help you to improve your performance, to know your marks and to improve your safety, for example, with a quality heart rate monitor. Note that there is also more than one bike biomechanics app that you can use to perform your own bike biomechanics tests at home – this will give you some key aspects to improve, such as your position and the exact fit of the measurements.
Bike biomechanics myths
Now that you know what a bicycle biomechanical analysis is and how you can adjust your home cycle bike to your ideal height let’s look at some widespread myths about bicycle biomechanics, in general. These are as follows:
Hips move sideways because the saddle is high
This statement is false. The movement of the hips while cycling can mean many things, in fact, there are many cyclists who move their hips with the saddle low because they are in the habit of moving from side to side while pedaling.
The further forward the cleats are, the better
One of the most widespread myths in cycling is that more forward cleats allow you to pedal better because you have leverage with the head of the first metatarsal of your feet, but in reality this is an idea that has not been proven. According to some studies, setting the cleat back slightly by 6 to 8 mm with respect to the pedal axis usually results in a better pedaling sensation.
Knees should be straight to improve pedaling and avoid injury
This statement is not entirely true; what causes knee injuries is pedals that are too high or too low. The alignment of the knees is secondary, since a slight lateral deviation is normal, either towards the frame or outwards, and this depends on the individual technique of each cyclist, as well as the anatomy of the hip. In any case, it is best to pedal with straight knees to optimize the application of force.
Pedals with a lot of play prevent knee injuries.
To reiterate our previous answer, what really causes knee injuries is a poorly adjusted saddle that is too high or too low for each rider. However, the fact that there is discomfort when pedaling with fixed cleats or with little movement is due to the fact that these have not been placed correctly.
It is better to pedal round
Round pedaling is based on applying force to the pedal during the entire pedaling cycle, without any dead spots in the session and applying force both in the downward phase and in the recovery phase of the pedal stroke -that is, when the pedals are pulled upward in the upward phase-. But is pedaling round better? Certainly not. It has been shown on several occasions that pulling the pedals upwards worsens efficiency. This is not to say that cyclists with more depth can pedal more rounded because of their better muscle coordination, but this is a different matter.
The width of the ischium determines the width of the saddle.
Although the statement makes sense, this is not always the case. For example, when adopting a typical road position (with a back angle of 45°) the pelvis is rotated forward and the ischia do not rest on the saddle, but on the front bone surface. In the end it all depends on the type of cycling we are going to practice and the characteristics of each cyclist.